Ergo RPMA183 Specifications
Browse online or download Specifications for Projector mounts Ergo RPMA183. Chief RPMB204 project mount User Manual
- Page / 12
- Table of contents
- BOOKMARKS
Summary of Contents
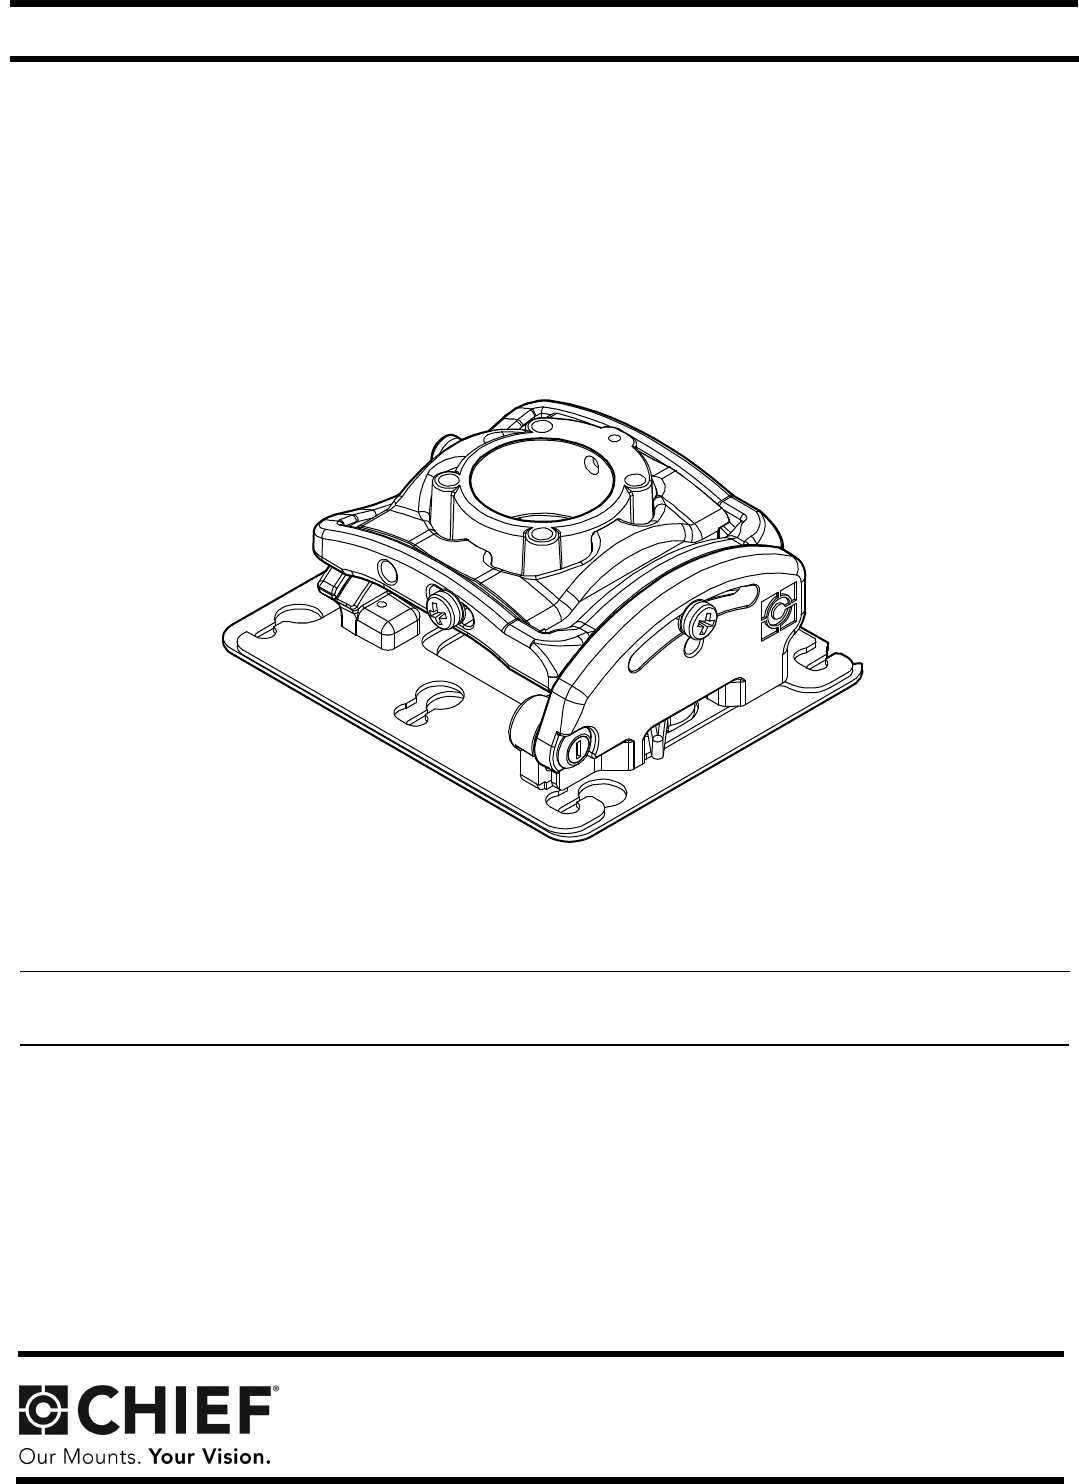
INSTALLATION INSTRUCTIONSInstrucciones de instalaciónInstallationsanleitungInstruções de InstalaçãoIstruzioni di installazioneInstallatie-instructiesI
RPMA/RPMB/RPMC Series Installation Instructions10
Installation Instructions RPMA/RPMB/RPMC Series11
USA/International A 6436 City West Parkway, Eden Prairie, MN 55344P 800.582.6480 / 952.225.6000F 877.894.6918 / 952.894.6918Europe A Franklinstraat 14
RPMA/RPMB/RPMC Series Installation Instructions2NOTE: RPMA, RPMB, and RPMC models are included inthese installation instructions. Throughout theseinst
Installation Instructions RPMA/RPMB/RPMC Series3DIMENSIONSTOOLS REQUIRED FOR INSTALLATIONPARTS2.795.241.00ROLL ADJUSTMENTPOINT35.506.505.504.501.50&qu
RPMA/RPMB/RPMC Series Installation Instructions4LEGENDTighten FastenerSerrez les fixationsSerrare il fissaggioBefestigungsteil festziehenApretar eleme
Installation Instructions RPMA/RPMB/RPMC Series5PREPARATIONLocate Mounting SiteWARNING: IMPROPER INSTALLATION MAY LEAD TOPROJECTOR MOUNT FALLING CAUSI
RPMA/RPMB/RPMC Series Installation Instructions6Installing to Wood Framework (Joists)1. Using the RPMX as a guide, mark four mounting holelocations. (
Installation Instructions RPMA/RPMB/RPMC Series73. Align four mounting holes in RPMX with four pilot holes.IMPORTANT ! : When RPMX is properly positio
RPMA/RPMB/RPMC Series Installation Instructions8WARNING: IMPROPER INSTALLATION CAN LEAD TOPROJECTOR FALLING RESULTING IN SERIOUSPERSONAL INJURY OR DAM
Installation Instructions RPMA/RPMB/RPMC Series9Roll Adjustment (Horizontal Tilt)1. Loosen ROLL adjustment locking screw using a #2 Phillipsscrewdrive
© 2020, manymanuals.com. All rights reserved. | 1.355 s |
 Manymanuals.com
 Manymanuals.de
 Manymanuals.fr
 Manymanuals.it
 Manymanuals.pl
 Manymanuals.cz
 Manymanuals.es
 Manymanuals-pt.com
Comments to this Manuals